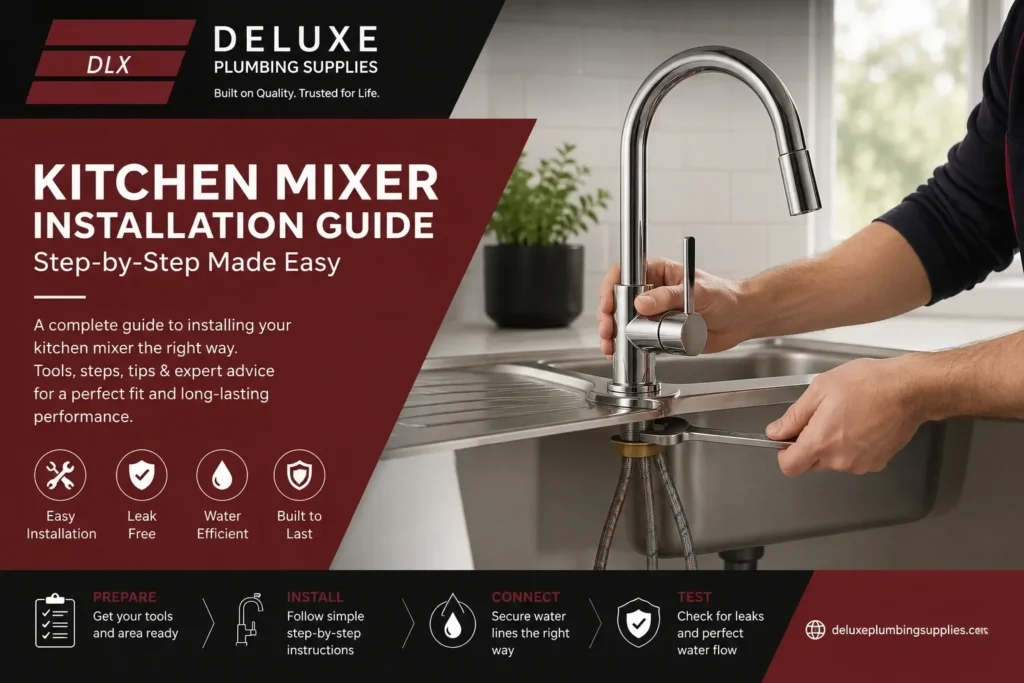
Installing a kitchen mixer improves both the appearance and functionality of a kitchen. A modern mixer allows better control of water temperature and flow while supporting efficient kitchen cleaning, food preparation, and daily use. Whether replacing an old tap or installing a new mixer during a kitchen renovation, proper installation is essential for preventing leaks and ensuring long-term performance.
A kitchen mixer combines hot and cold water through a single outlet. Modern mixers also include advanced features such as pull-out sprays, swivel spouts, and ceramic cartridges for smoother operation. Choosing high-quality plumbing products from Deluxeplumbingsupplies helps improve durability, water efficiency, and installation reliability.
This kitchen mixer installation guide explains everything from preparing the sink area to testing the final installation. It also covers common mistakes, maintenance practices, and tips for selecting the best kitchen mixer for different kitchen layouts.
What Is a Kitchen Mixer and How Does It Work?
A kitchen mixer is a plumbing fixture that combines hot and cold water into a single spout using one control lever or dual handles.
A kitchen mixer controls both water temperature and flow through a single outlet. Inside the mixer, a cartridge system blends hot and cold water before it exits the spout. Modern kitchen mixers are popular because they improve convenience, save space, and provide better water control for everyday kitchen tasks.
Main Components of a Kitchen Mixer
| Component | Function |
| Mixer body | Main fixture housing |
| Cartridge | Controls water mixing |
| Flexible hoses | Connect the water supply |
| Aerator | Controls water flow |
| Mounting hardware | Secures the mixer to the sink |
Common Kitchen Mixer Types
- Pull-out mixers
- Single-lever mixers
- Dual-handle mixers
- Wall-Mounted Kitchen Mixer
- Electronic Purified Water Kitchen Mixer
- Touch-Me Smart Kitchen Tap
What Tools and Materials Are Needed for Kitchen Mixer Installation?
Before starting installation, gather all required plumbing tools and components.
Essential Installation Tools
- Adjustable wrench
- Basin wrench
- Screwdriver
- Thread seal tape
- Bucket or towel
- Silicone sealant
- Flashlight
Required Plumbing Materials
- Flexible water hoses
- Rubber washers
- Mounting nuts
- Isolation valves
- New kitchen mixer
Using quality fittings reduces the risk of future leaks and improves installation stability.
How Do You Prepare the Kitchen Sink Before Installing a Mixer?
Preparation is important for a smooth installation process.
Step 1: Turn Off the Water Supply
Locate the isolation valves under the sink and shut off both hot and cold water supplies.
Step 2: Remove the Existing Tapware
Disconnect old hoses carefully using a wrench. Remove mounting hardware from beneath the sink.
Step 3: Clean the Sink Surface
Remove dirt, silicone residue, and mineral buildup around the mounting hole.
Step 4: Check Sink Compatibility
Confirm:
- Sinkhole size
- Bench thickness
- Hose reach
- Clearance behind the sink
This preparation helps avoid alignment problems during installation.
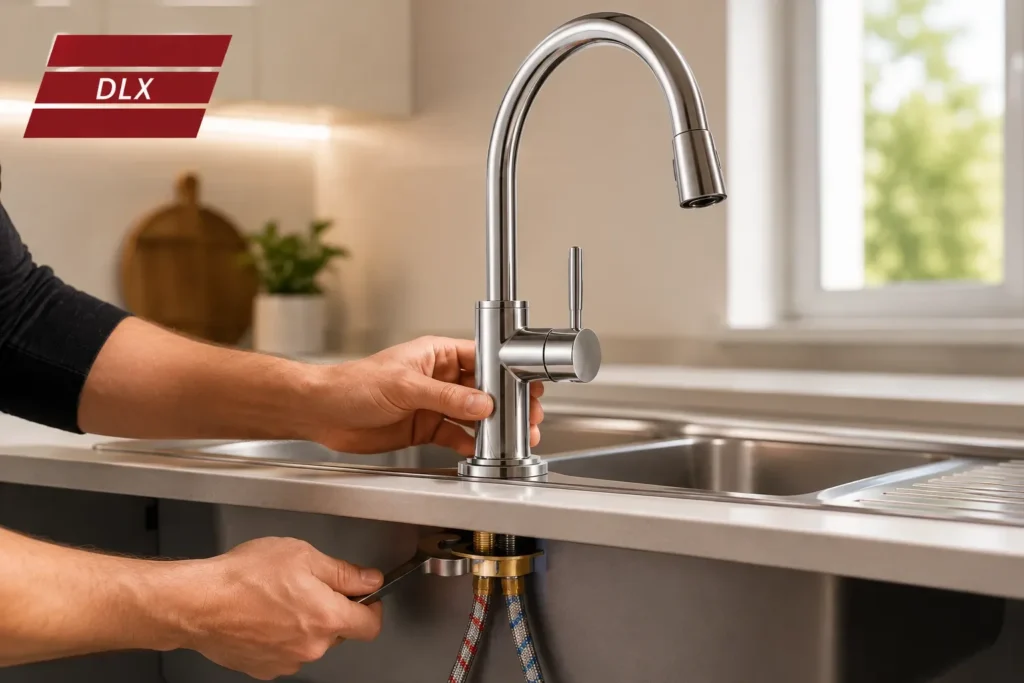
How Do You Install a Kitchen Mixer Step by Step?
To install a kitchen mixer, insert the mixer into the sink hole, connect the flexible hoses, secure the mounting hardware underneath the sink, and attach the hot and cold water supply lines. Once tightened correctly, turn the water back on and test for leaks and proper water flow.
Step-by-Step Installation Process
1. Insert the Mixer into the Sink Hole
Carefully position the mixer body into the mounting hole.
2. Align the Mixer Properly
Ensure the spout faces directly toward the sink center.
3. Attach Mounting Hardware
Underneath the sink:
- Install a rubber gasket
- Position mounting plate
- Tighten the mounting nut evenly
4. Connect Flexible Hoses
Attach:
- Hot water hose
- Cold water hose
Avoid twisting the hoses during installation.
5. Tighten Water Connections
Use an adjustable wrench to secure fittings firmly without overtightening.
For more guidance on avoiding installation issues, see the section on common kitchen plumbing mistakes later in this guide.
How Do You Connect Water Supply Lines Correctly?
A correct hose connection prevents leaks and water pressure problems.
Hot and Cold Water Positioning
| Water Line | Typical Position |
| Hot water | Left side |
| Cold water | Right side |
Best Practices for Water Connections
- Use thread seal tape where needed
- Do not bend hoses sharply
- Ensure washers are correctly seated
- Tighten connections evenly
- Check hose length before final fitting
Improper hose positioning can reduce water flow and damage internal fittings over time.
What Common Kitchen Mixer Installation Mistakes Should You Avoid?
The most common kitchen mixer installation mistakes include overtightening fittings, incorrectly connecting water lines, forgetting rubber washers, and failing to test for leaks. These issues can cause water damage, poor pressure, and reduced mixer lifespan.
Common Installation Errors
- Overtightening Connections: Excess force may crack fittings or damage threads.
- Incorrect Hose Routing: Twisted hoses restrict water flow.
- Uneven Mixer Alignment: A crooked mixer affects both appearance and usability.
- Missing Rubber Washers: This often causes slow leaks beneath the sink.
- Ignoring Water Pressure Compatibility: Some mixers require balanced water pressure for optimal performance.
If you are upgrading an older kitchen, reviewing these kitchen mixer maintenance tips can also help extend plumbing lifespan.
How Do You Test a Newly Installed Kitchen Mixer?
Testing confirms the installation is secure and leak-free.
Testing Checklist
- Turn the water supply on slowly
- Inspect all hose connections
- Check underneath the sink
- Test hot and cold water mixing
- Run water for several minutes
- Inspect pressure consistency
Signs of Proper Installation
- Smooth handle operation
- Stable water flow
- No dripping connections
- Balanced temperature control
If leaks appear, shut off the water immediately and retighten fittings carefully.
How Do You Maintain a Kitchen Mixer After Installation?
Regular maintenance improves durability and water efficiency.
Kitchen Mixer Maintenance Tips
- Clean the Aerator: Mineral buildup can reduce water pressure.
- Wipe the Mixer Regularly: Use mild soap and a soft cloth.
- Check for Leaks: Inspect hoses and fittings every few months.
- Service the Cartridge: A worn cartridge can affect temperature control.
- Prevent Hard Water Damage: Use filtered water systems where possible.
Routine maintenance reduces repair costs and improves fixture lifespan.
Which Kitchen Mixer Type Is Best for Different Kitchen Layouts?
Different kitchen layouts require different mixer styles.
| Kitchen Type | Recommended Mixer |
| Small kitchens | Compact mixer |
| Modern kitchens | Pull-out mixer |
| Deep sinks | Gooseneck mixer |
| Heavy-use kitchens | Commercial-style mixer |
Finish Options
- Chrome
- Matte black
- Brushed nickel
- Stainless steel
When choosing the best kitchen mixer, match the style with sink depth, kitchen size, and daily usage requirements.
Why Choose Premium Kitchen Mixers from Deluxe Plumbing Supplies?
Deluxeplumbingsupplies offers premium plumbing products designed for modern residential kitchens.
Benefits of Premium Kitchen Mixers
- Durable materials
- Water-efficient designs
- Easy installation compatibility
- Modern finishes
- Long-lasting cartridges
Quality plumbing fixtures reduce maintenance problems and improve overall kitchen functionality.
When Should You Replace Instead of Repairing a Kitchen Mixer?
Replacement is often better when:
- Leaks continue after repairs
- Internal corrosion appears
- Water pressure drops permanently
- The cartridge repeatedly fails
- The mixer becomes difficult to operate
Modern replacements usually improve water efficiency and overall kitchen usability.
Frequently Asked Questions
Can I Install a Kitchen Mixer Myself?
Yes. Many homeowners can install a kitchen mixer using basic plumbing tools and careful instructions.
How Long Does Installation Take?
Most installations take between 30 minutes and 2 hours, depending on sink access and plumbing condition.
Do All Kitchen Mixers Fit Every Sink?
No. Always check:
– Mounting hole size
– Bench thickness
– Hose compatibility
Why Is My Kitchen Mixer Leaking After Installation?
Leaks usually occur because of:
– Loose fittings
– Missing washers
– Incorrect hose connections
What Is the Ideal Water Pressure for a Kitchen Mixer?
Most residential kitchen mixers perform best with balanced medium water pressure.